🟢 Phase 2 – Scan: Green light for long-range scanning. Best throw, excellent contrast in open terrain.
⚪ Phase 3 – Confirm: Brief white light burst for positive target identification. Safety first.
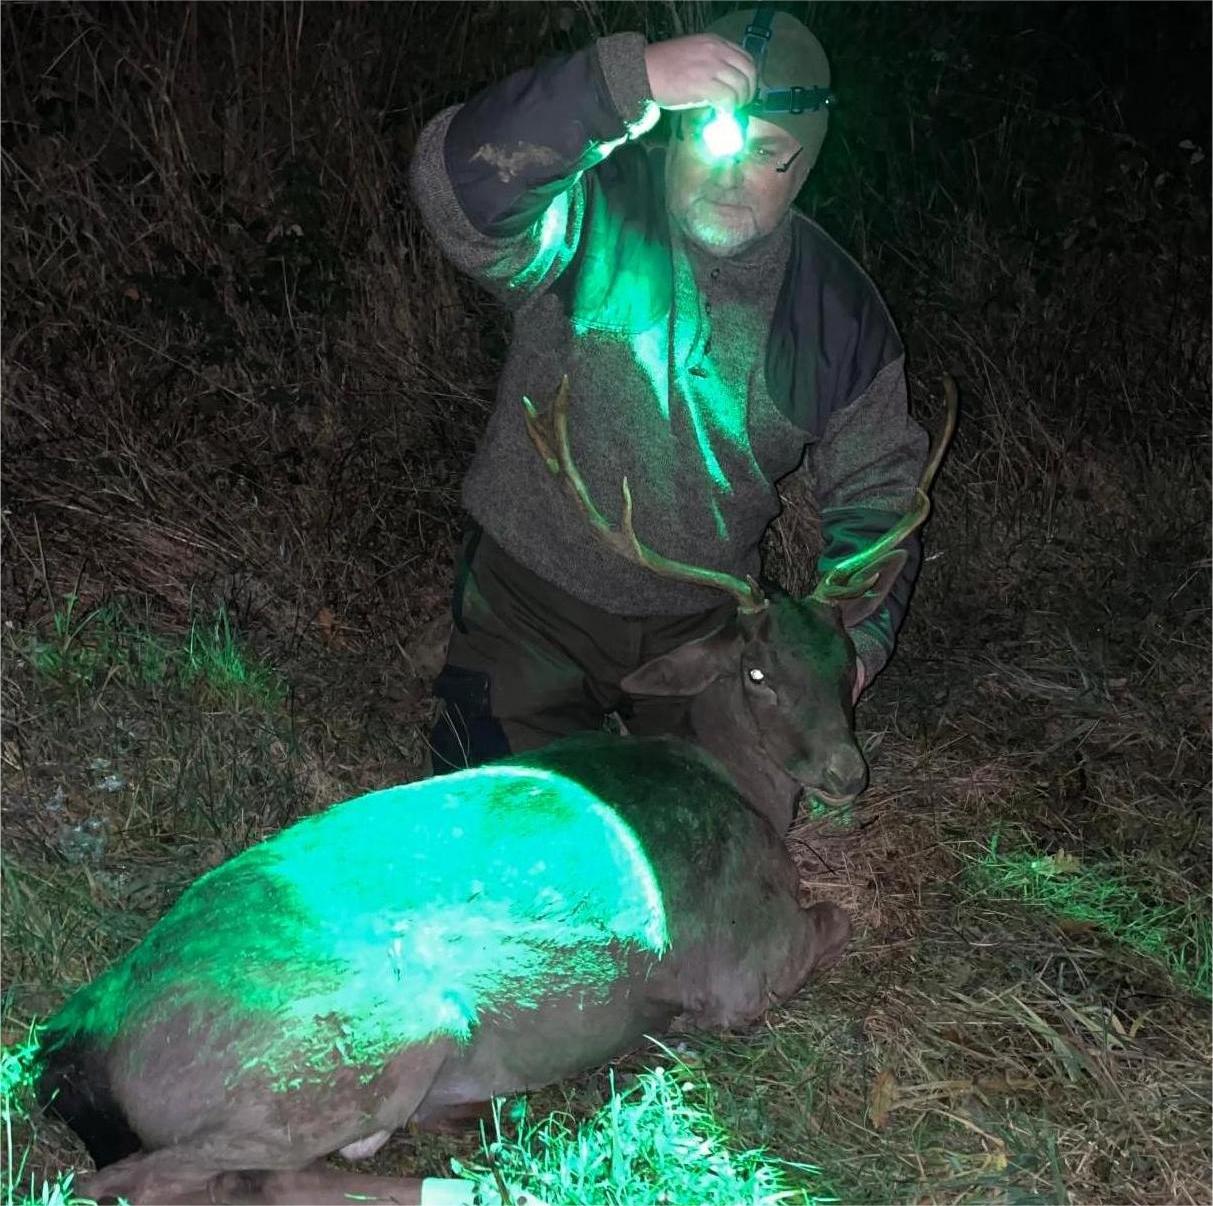
🔎 Phase 4 – Track: UV light (365-395nm) makes blood fluoresce. IR if using night vision gear.
Golden Rule: Navigate in RED → Scan with GREEN → Confirm with WHITE → Track with UV/IR
✔ Those hunting deer, hogs, or predators at night
✔ Anyone who wants to recover more game ethically

Introduction
A successful night hunt isn't just about having the right gear—it's about using it with light discipline. The difference between a seasoned hunter and a beginner often comes down to this single skill.
In this guide, we'll walk you through a complete night-hunting sequence—from arriving at your spot to recovering your game. You'll learn exactly when to use red, green, white, UV, and IR light, plus field-tested beam control tactics that keep you hidden and in control.
The 4-phase light discipline strategy is the single most impactful skill in night hunting. Hunters who follow a structured light sequence — red approach, green scan, white confirm, UV/IR track — consistently report fewer animal disturbances and higher recovery rates than those who rely on a single light color or use lights randomly.
Phase 1: Approach & Setup — Stealth Above All

Light Choice: 🔴 Red (or no light)
- Use a red headlamp or flashlight with adjustable brightness. Keep it on the lowest setting that allows safe navigation.
- Avoid shining light directly into the woods—point it at your feet or use a dim flood.
- Preserve your own night vision by using red light; it prevents your pupils from constricting.
Tactical Tips
- Arrive at least 30 minutes before you expect game to appear.
- Know your route in daylight. Mark obstacles with reflective tacks if necessary.
- Walk slowly and pause frequently. Sudden movement is more detectable than light.
✅ Goal: Reach your stand or hide without any animal knowing you're there.
🔬 Science note: Research from the University of Georgia Warnell School of Forestry shows that whitetail deer have very limited sensitivity to red wavelengths, making red light ideal for stealth approaches.
Red light at minimal brightness is the optimal approach tool because game mammals lack the cone cells needed to detect long-wavelength red light, and red simultaneously preserves the hunter's scotopic (dark-adapted) vision. After red light exposure, your eyes re-adapt in seconds; after white or green light, full dark adaptation takes 20–30 minutes.
Phase 2: Scanning & Spotting — Green Light for Distance

Light Choice: 🟢 Green
- Green light provides the longest usable throw and best contrast in open terrain.
- Ideal for scanning fields, meadows, and crop edges.
- Use a momentary-on switch or pressure pad to flash fields briefly rather than leaving the beam on constantly.
Scanning Technique
- Start from the far edge of the field and slowly work your way inward.
- Watch for eye shine—deer eyes reflect green strongly; hog eyes glow amber.
- If an animal looks up, freeze and kill the light. Wait 2–3 minutes before resuming.
✅ Goal: Locate game, assess direction, and decide if it's a target.
🔬 Science note: According to Texas A&M Wildlife & Fisheries Sciences, feral hogs tolerate green light well, making it the preferred color for long-range scanning without alarming them.
Green light's advantage for scanning comes from human biology: peak photopic sensitivity at 555nm gives green a 9–10× luminous efficiency advantage over red at identical wattage. This translates to approximately 150 yards (red) versus 300–400+ yards (green) effective scanning range in open terrain, while hogs and deer show minimal alarm response at typical scanning distances.
2.1 The Halo Scan Technique — Detect Without Alerting
The Halo Scan is the most fundamental predator-hunting beam method. Instead of shining your hotspot directly on the terrain, you illuminate the area using only the outer spill (halo) of your beam. This reduces intensity on the ground while still revealing eye shine at long distances, movement in grass or brush, and animal silhouettes—all without spooking them.
Why it works: Predators are far less sensitive to the softer spill beam. The halo gives you the first visual advantage without alerting targets.
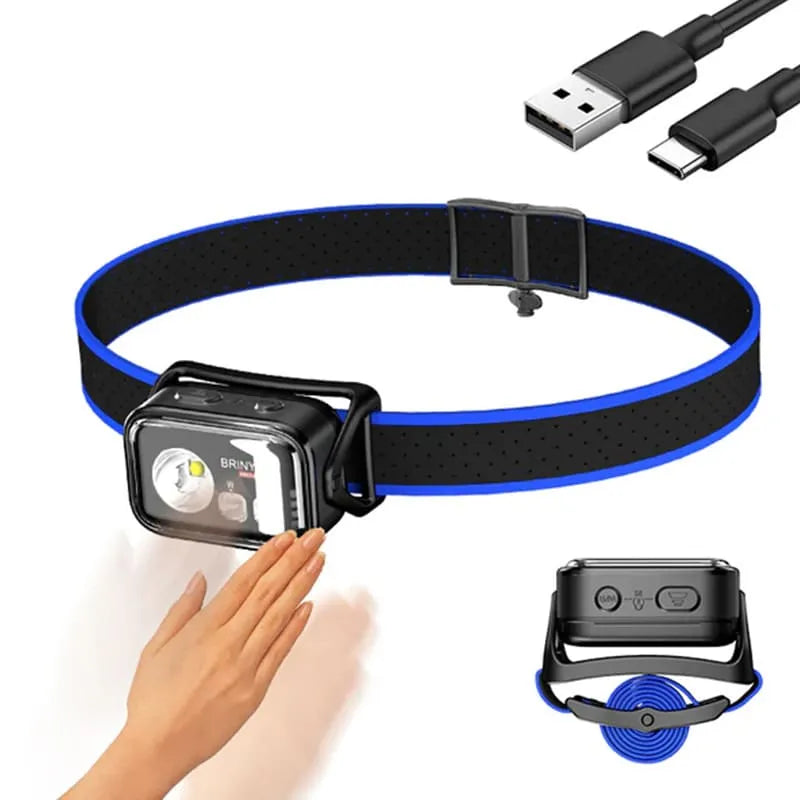
Best tools for Halo Scanning: Brinyte T28 (Red/Green modes provide wide, stable spill) and Brinyte HL28 headlamp (Red/Green flood for hands-free scanning over large areas).
2.2 Beam Rhythm & Movement Discipline
Predators react instantly to abrupt or erratic beams. Use a slow, steady sweep in repeatable patterns. Each arc should take 3–5 seconds to complete. Avoid sudden jumps or fast beam movement.
Key rules:
- Keep a rhythm: wide arc → pause → overlap → repeat.
- When you spot eye shine, do not chase the animal with the beam—hold it still.
- Limit continuous green-light exposure to under 3 seconds per sweep; longer exposure raises alertness by roughly 15%.
Phase 3: Confirmation & Shot — White Light for Safety

Light Choice: ⚪ White (brief)
- White light delivers true color rendering, allowing you to see antler points, species, and background.
- Use it only for final identification, never for scanning.
- The "three-second rule": illuminate, identify, and either shoot or kill the light.
Safety Protocol
- Mount your light on your weapon or have it immediately accessible.
- Use a momentary switch—the light should be on only as long as it takes to confirm.
- After the shot, immediately turn off all lights and listen for movement or sounds of impact.
Phase 4: Tracking & Recovery — UV or IR for Stealthy Retrieval
Light Choice: 🔎 UV (for blood) or 🌙 IR (with night vision)
- UV light (365–395nm) makes blood fluoresce bright orange or pink, even on leaves, dirt, or snow. It's the fastest way to follow a blood trail.
- IR light is completely invisible to game; if you have night vision gear, it lets you track without disturbing nearby animals.
Tracking Technique
- Wait 20–30 minutes after the shot before starting your search. This gives the animal time to bed down.
- Use UV in a slow, sweeping motion just above the ground. Blood will glow, even in tiny droplets.
- Mark the trail with flagging tape or GPS waypoints so you can backtrack if needed.
✅ Goal: Recover your game efficiently and ethically without disturbing other animals in the area.
UV light at 365–395nm causes hemoglobin to fluoresce, making blood trails visible on terrain where white-light tracking would fail. The 20–30 minute waiting period before tracking is critical — it allows the wounded animal to bed down rather than being pushed farther by immediate pursuit. IR illumination provides a complementary option for hunters with night vision equipment, enabling completely silent retrieval with zero behavioral effect on game.
Choosing the Right Beam Pattern: Spot vs Flood for Terrain
Your scanning technique is only as effective as the beam pattern you choose. Selecting the wrong beam for the terrain is one of the fastest ways to miss game or alert predators early. Use the table below to match your light to the environment.
| Terrain Type | Recommended Beam | Why | Brinyte Tool |
|---|---|---|---|
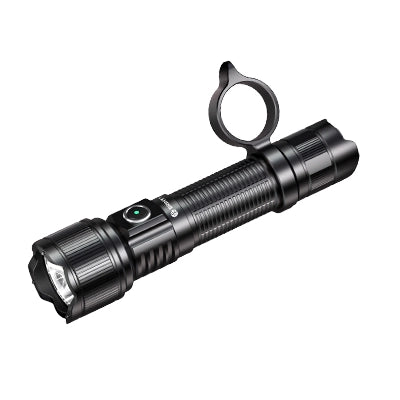
| Open fields, meadows, crop edges | Spot (high candela, 60,000cd+) | Long throw to detect eye shine at 300+ yards; minimal light scatter | T18 long-distance thrower |
| Dense woods, brush, tight trails | Flood (wide spill) | Broad illumination for short-range multi-target scanning; prevents tunnel vision | HL28 triple-beam headlamp |
| Mixed terrain, edges, variable cover | Adjustable / zoom | Adapt on the fly: flood for walking in, spot for scanning openings | T28 Artemis (zoomable) |
Step-by-Step: The 4-Phase Night Hunting Light Sequence
- Phase 1 — Approach with Red Light: Use a red headlamp or flashlight on the lowest brightness setting to walk to your stand. Red light preserves your night vision and is minimally detectable by deer, hogs, and coyotes. Keep the beam pointed at your feet and avoid sweeping the woods.
- Phase 2 — Scan with Green Light: Switch to green light for long-range field scanning. Green provides the best throw distance and contrast against vegetation. Use momentary-on bursts rather than leaving the beam on continuously. Start from the far edge of the field and work inward toward your position. Apply the halo scan technique and slow sweep rhythm described above.
- Phase 3 — Confirm with White Light: Use a brief burst of white light for positive target identification. White light is mandatory for confirming species, sex, and safe shot placement. Follow the three-second rule: illuminate, identify, and either shoot or kill the light. Never use colored light alone for final target ID.
- Phase 4 — Track with UV or IR Light: Wait 20–30 minutes after the shot, then use UV light (365–395nm) to make blood fluoresce for easy tracking. If using night vision gear, IR light enables silent retrieval without disturbing other animals. Mark the trail with flagging tape as you go.
Why the Brinyte SPECTRA T5X Executes All Four Phases
Not all hunting lights can handle all four phases. Most require carrying separate red, green, white, and UV lights — adding weight and switching friction at critical moments. The Brinyte SPECTRA T5X consolidates every phase into a single light with a magnetic control ring for instant color switching.
| Phase | T5X Mode | How It Works |
|---|---|---|
| 🔴 Approach | Red (170 lm) | Low-detectability red preserves night vision; 120° flood covers your walking path |
| 🟢 Scan | Green (350 lm) | Green beam across open fields; momentary magnetic ring switching |
| ⚪ Confirm | White (1000 lm) | Brief turbo burst for species ID and antler verification |
| 🔎 Track | UV + Dual-Frequency Strobe (680 lm) | 10Hz/5Hz alternating strobe makes blood fluoresce against any terrain |
Advanced Tactics: Multi-Hunter & Multi-Light Coordination

- Designate roles: One hunter handles the scanning light (green), another handles the white light for ID.
- Use pressure pads mounted on rifles so the shooter can control the white light.
- Communicate silently with hand signals or low-power red lights.
- Avoid cross-lighting—never shine a light directly at your partner.
Common Mistakes That Spoil Night Hunts
| Mistake | Why It Hurts | How to Avoid |
|---|---|---|
| Leaving a light on continuously | Animals associate constant light with danger | Use momentary-on or intermittent scanning |
| Walking with a white headlamp | Blows your cover before you even start | Switch to red for walking |
| Using white light to track blood | Washes out UV fluorescence, may spook other game | Use UV for tracking, white only for final confirmation |
| Not checking zero with weapon-mounted light | POI shift can cause missed shots | Confirm zero with the light attached before the hunt |
| Moving too fast after the shot | Pushes wounded game farther | Wait 20–30 minutes before tracking |
Night Hunting Light Flowchart
| Phase | Action | Light Color | Key Principle |
|---|---|---|---|
| 1 | Approach & Setup | 🔴 Red | Stealth above all |
| 2 | Scan & Spot | 🟢 Green | Distance + detail |
| 3 | Confirm & Shoot | ⚪ White (brief) | Positive ID |
| 4 | Track & Recover | 🔎 UV or 🌙 IR | Silent retrieval |
📥 Free Download: 4-Phase Light Cheat Sheet (PDF)
One-page printable guide: 4-phase light sequence + scanning techniques + common mistakes + blood tracking tips. Keep it in your hunting pack.
❓ Frequently Asked Questions
Can I use a green light for walking to my stand?
Technically yes, but red is better for preserving night vision and is less detectable at close range. Green is best reserved for scanning. Red light minimizes disturbance to deer bedded near your access route and preserves your own dark adaptation.
How long should I wait after a shot before tracking?
At least 20–30 minutes for deer or hogs. If you suspect a gut shot, wait 1–2 hours or even overnight. This allows the animal to bed down rather than being pushed farther by immediate pursuit.
What color light is best for coyote hunting at night?
Use red light for approaching and close-range work (coyotes see red poorly). For scanning open fields at distance, green light offers better range. A multi-color light like the Brinyte T28 Artemis lets you switch between both during a single hunt.
Can deer see green light?
Yes, deer can see green light, but they don't typically spook from it if used properly at distance. Green is best reserved for long-distance scanning (150+ yards), not close-quarters stalking. For deer approaches under 100 yards, red light is the safer choice.
What is the best light for blood trailing?
A UV light with a wavelength between 365–395nm is ideal for making blood fluoresce. The Brinyte SPECTRA T5X adds dual-frequency strobe technology (10Hz/5Hz) that makes blood trails glow brighter across different terrain types — soil, leaves, grass, and snow.
Why is the 4-phase sequence more effective than using a single light color?
Each phase of a night hunt has different requirements. Stealth for approach requires low-detectability red light. Long-range scanning requires high-contrast green light. Target identification requires full-color white light for safety. Blood tracking requires UV for fluorescence. A single-color light forces a compromise across all four phases; a multi-color system optimizes each phase independently.
🔎 Gear That Executes the 4-Phase Tactics

Having a light that can handle all four phases simplifies everything. Here are our top recommendations:
| Model | Phases Covered | Key Feature | Shop |
|---|---|---|---|
| T28 Artemis | 🔴 Approach + 🟢 Scan + ⚪ Confirm | Silent rotary dimmer, tri-color (white/red/green), pressure switch ready | Shop Now |
| SPECTRA T5X | 🔴 Approach + 🟢 Scan + ⚪ Confirm + 🔎 Track | Full 4-color system + dual-frequency blood tracking strobe, 21700 USB-C | Shop Now |
Ready to Master Night Hunting Light Discipline?
Browse our complete collection of multi-color hunting flashlights — engineered for the 4-phase sequence.
Shop Hunting Lights →About Brinyte
Brinyte was founded in 2009. Since then, we have specialized in hunting and tactical lighting. Our products are developed with input from experienced hunters, field-tested in real conditions, and engineered for reliability. Brinyte holds 50+ patents and ISO9001 certification. Every guide we publish reflects practical field experience combined with optical science.
👉 About Brinyte | Hunting Lights Collection | About the Author
"Professional tools for responsible hunters."
Founded 2009 · 50+ Patents · ISO9001