Quick answer: Night rucking is safe when you plan for it. What matters most: a headlamp with enough lumens for your terrain (300 lm for roads, 800+ lm for trails), reflective gear so traffic sees you, and a route you've done in daylight first. Most experienced ruckers run a headlamp as their primary light and keep a compact tactical flashlight as a backup for range and emergencies.
Rucking—walking with a weighted pack—is one of the most effective low-impact training methods out there. Soldiers have relied on it for centuries; the civilian rucking movement exploded in the last decade. And a growing number of ruckers are moving their sessions into the dark hours to beat summer heat, fit around work schedules, or just because a 5 AM ruck in silence is unlike anything else.
The moment the sun goes down, every variable changes. Roots you'd step over automatically become ankle traps. Trails narrow. Drivers can't see you. This guide combines everything you need into one place: how to assess the real risks, how to choose and use lighting correctly, what gear actually matters, and how to dial in your strategy for roads vs. trails.
What is night rucking — and who does it?

Rucking originated in military training as a load-bearing endurance exercise. Today it's popular with veterans, GORUCK athletes, trail runners adding weight, law enforcement trainees, and functional fitness enthusiasts who want something harder than a walk but lower-impact than running.
Night rucking specifically appeals to people who:
- Train before or after work when daylight isn't available
- Live in hot climates where cooler night temperatures make long rucks sustainable
- Are preparing for military selection, GORUCK events, or first responder fitness tests
- Want the added mental challenge of navigating in low light
The key difference from daytime rucking: you lose your visual safety margin. Everything that could go wrong in daylight — a rolled ankle, a misread step, a close call with traffic — becomes more likely at night. That's not a reason to avoid it. It's a reason to prepare systematically.
The real risks of rucking in the dark
Understanding what actually goes wrong helps you address each risk specifically rather than just "being careful."
Terrain and ankle injuries
Uneven surfaces — tree roots, gravel edges, road shoulders, curb drops — are the #1 cause of night rucking injuries. Your peripheral depth perception drops significantly in low light, so obstacles your brain normally processes automatically demand conscious attention. Slow down 15–20% compared to your daytime pace on unfamiliar routes.
Traffic visibility
Drivers see you far later at night than you might assume. A pedestrian in dark clothing can be nearly invisible until 30–50 feet at highway speed. Reflective gear is not optional for any road rucking. Reflective vest, shoulder strap bands, and a blinking red light clipped to your back all add critical layers of visibility.
Wildlife encounters
Coyotes, raccoons, and deer are far more active at night. A sweep of your flashlight every 30–60 seconds in rural environments lets you spot eyeshine before a close encounter.
Disorientation and navigation failure
Familiar trails look different at night. Junctions you navigate automatically in daylight require deliberate attention. Always ruck routes you've done in daylight first, and carry a downloaded offline map — cell signal fails at the worst times.
Fatigue masking
Night shifts your perception. Fatigue accumulates without the usual daylight cues, and the quiet can feel energizing even when your body is depleted. Schedule hydration and rest stops on a timer, not by feel.
Lighting for night rucking: the full breakdown
This is where most ruckers underinvest. A phone flashlight is not a lighting system. Here's how to think about it properly.
How many lumens do you actually need?
The answer depends entirely on your terrain and ambient light:
| Scenario | Min lumens | Recommended | Key note |
|---|---|---|---|
| Urban sidewalks (streetlit) | 100–200 | 300+ | Mainly for being seen, not just seeing |
| Suburban roads (mixed light) | 300–400 | 500+ | Watch road shoulder edges carefully |
| Paved trail (no streetlights) | 400–600 | 600–800 | Watch for cyclists approaching |
| Unpaved / gravel trail | 600–800 | 800–1,000 | Roots, rocks, dips — need real throw distance |
| Technical / backcountry | 800+ | 1,000–1,600 | Full flood + throw combination |
| Overnight / 4–8+ hour ruck | Any — runtime critical | 600 lm with 6h+ runtime | Carry spare batteries |
Pro tip — candela vs. lumens: Candela (beam intensity) matters as much as total lumens for trail rucking. A 1,000-lumen light with a focused spot beam will throw further and reveal terrain hazards earlier than a 1,500-lumen floodlight. For unpaved trails, prioritize candela alongside lumens.
Headlamp vs. handheld flashlight — what ruckers actually use

Both have a place. The short answer: use both.
| Headlamp | Handheld flashlight | |
|---|---|---|
| Hands | Both hands free — essential on uneven terrain | One hand occupied; tiring on long rucks |
| Beam | Follows your gaze; great wide flood for close terrain | Greater throw distance; better for scanning far ahead |
| Signaling | Limited — you'd have to point your whole head | Excellent — strobe/SOS modes for emergencies |
| Night vision | Red-light mode preserves eye adaptation | Red mode available on quality tactical models |
| Best for | Long rucks, trail navigation, group events | Backup light, scanning, emergency signaling |
The winning setup: Wear a headlamp as your primary light — it moves with your eyes and keeps both hands free. Keep a compact tactical flashlight in a chest-strap clip or accessible pocket. Use it to scan further ahead, signal in emergencies, or as a backup if your headlamp battery dies mid-ruck.
Red light vs. white light — when to use each
White light gives the best terrain visibility but destroys your natural night adaptation — it takes 20–30 minutes to fully recover. Red light preserves your night vision, meaning your eyes stay adjusted to darkness even when you briefly illuminate something close-up.
- White light: active trail navigation, scanning for hazards, reading trail junction signs
- Red light: stops — checking your map, adjusting gear, resting — to maintain eye adaptation
- Red light in groups: avoids blinding other ruckers walking nearby
- Red light in wildlife areas: significantly reduces your visibility to animals
Brinyte gear picks for night rucking
Headlamp: Brinyte HL28 Artemis — best for trail rucking

| Output | Up to 1,600 lumens |
| Light modes | White / Red / Green — patented tri-color sources |
| Beam | Zoomable — flood to spot in one motion |
| Runtime | Up to 8 hours on medium white output |
| Waterproofing | IP68 — submersible; built for rain, mud, damp |
| Best for | Technical trails, overnight rucks, GORUCK events |
→ Shop the Brinyte HL28 Artemis headlamp
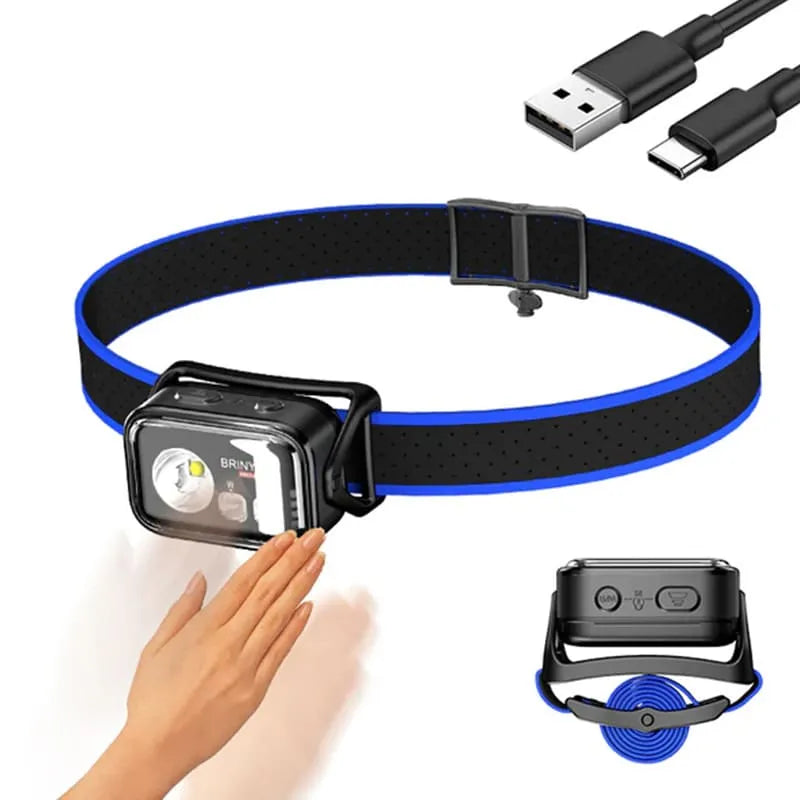
Headlamp: Brinyte HC01 — best for urban and tempo rucks

| Output | Up to 1,000 lumens |
| Light modes | White + Red |
| Beam | Adjustable tilt — lock beam angle for terrain |
| Weight | Lightweight; low-profile form factor |
| Best for | Urban roads, pavement, neighborhood rucks |
→ Shop the Brinyte HC01 headlamp
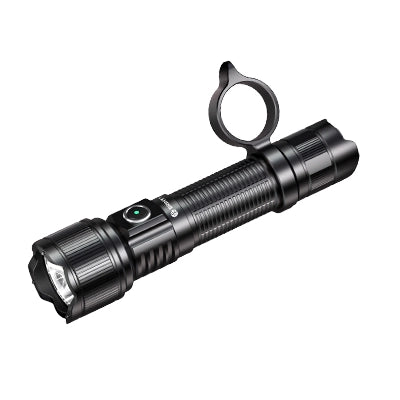
Tactical flashlight: Brinyte PT28 Oathkeeper — best all-around backup

| Output | Up to 1,600 lumens |
| Special modes | Strobe / SOS — emergency signaling |
| Body | Impact-resistant; IPX-rated weatherproofing |
| Operation | Tail switch — works reliably with gloves |
| Best for | Backup light, scanning far ahead, solo rucks |
→ Shop the Brinyte PT28 Oathkeeper
Tactical flashlight: Brinyte PT16A — maximum output for backcountry rucks
| Output | 3,000 lumens — maximum output in its class |
| Special modes | Multiple output levels + tactical strobe |
| Body | Compact build; lightweight relative to output |
| Operation | Tail switch; glove-compatible |
| Best for | Technical / backcountry rucks, true darkness |
Recommended setups by scenario
Backup: PT28 in pocket
Backup: PT28 on chest strap
Backup: PT16A for scanning ahead
Backup: PT16A + charged phone
Signaling: PT28 SOS mode
Night rucking safety checklist — the complete system
Safety for night rucking is a system, not a single item. Work through each category before your first dark ruck.
Visibility — being seen by traffic
Lighting — seeing your path
Navigation and communication
Physical prep
Urban vs. trail night rucking: different rules
Urban night rucking
Main hazards: Traffic, poor sidewalk conditions, uneven road shoulders, streetlight gaps, crime risk in some areas.
Urban rucking at night requires you to be seen as a pedestrian, not just visible. This is about predictable behavior — crosswalks, traffic signals, consistent side-of-road positioning — as much as reflective gear. Drivers look for patterns; a ruck pack changes your silhouette.
- Prefer sidewalks; if none available, walk facing traffic
- Reduce flashlight output — 300–500 lm is enough on lit streets; maximum brightness may dazzle oncoming cyclists
- Choose routes you know; avoid unlit industrial areas or parking structures
- Urban noise masks approaching hazards — keep one ear open, skip noise-canceling headphones
Trail night rucking
Main hazards: Roots, rocks, dips, wildlife encounters, navigation failure, no ambient light, extreme cold at elevation.
Trail rucking rewards high-lumen, high-throw lighting. You need to see a root before it catches your foot, and read trail markers at distance. The HL28 Artemis in spot mode can read a marker 40–50 meters ahead — that reaction distance matters at a loaded walking pace.
- Do a daytime scouting run on any trail before you ruck it at night — note junction markers and hazard spots
- Keep flood beam for active walking; switch to spot to read signs or scan junctions
- Sweep left and right every 60 seconds or so to check for wildlife eyeshine
- Wet leaves and rocks in cold nights can be more treacherous than open mud — slow down after rain
- With trekking poles, clip your flashlight to a chest strap or lash point to keep both hands free
Overnight and long-distance rucking: extra considerations
GORUCK events, overnight training events, and selection prep push ruckers well beyond a standard 60–90 minute session. For multi-hour rucks, the lighting calculus shifts significantly.
- Runtime over lumens: a 600-lumen headlamp that runs 8 hours beats a 1,600-lumen unit that dies after 3. Learn your gear's runtime at your intended output level — manufacturer specs are usually at medium, not high.
- Carry spare batteries or a battery pack. Lithium batteries outperform alkaline in cold. USB-C rechargeable lights can be topped off from a power bank at checkpoints.
- Red light for group movement. In a line of ruckers, red light maintains cohesion without blinding the person in front of you.
- Moisture penetration in rain. Cheaper lights may fail even with IPX4 ratings. Use IPX6 minimum; IP68 (like the HL28 Artemis) for serious overnight use.
- Battery performance in cold. Below 40°F (4°C), alkaline battery capacity can drop by 50%. Keep spares in an inner pocket near body heat.
Building your night rucking habit: first four weeks
If you're new to rucking at night, a progressive approach reduces risk and builds confidence fast:
Frequently asked questions about night rucking
Is rucking at night safe?
Yes, with the right preparation. The risks — reduced visibility, traffic, terrain hazards — are all manageable with reflective gear, appropriate lighting, a familiar route, and a plan for emergencies. Solo rucking at night is fine; just tell someone your route and expected return time before you head out.
How many lumens do I need for night rucking?
For lit urban streets: 300–500 lumens is sufficient. For unlit suburban roads: 500–700. For unpaved trails in full darkness: 800–1,600+. Candela (beam intensity) matters as much as total lumen count for trail use — a focused throw beam reveals hazards earlier than a diffused flood at the same lumens.
Should I use a headlamp or a flashlight for rucking?
Both. A headlamp is your primary — hands-free, follows your gaze, keeps both hands available for poles or balance. A compact tactical flashlight clips to your chest strap as a long-range scanner and emergency backup. The Brinyte HL28 Artemis + PT28 Oathkeeper is a practical two-piece setup for most ruckers.
What is the minimum gear I need for a safe night ruck?
At minimum: a headlamp with at least 300 lumens (600+ for trails), reflective gear visible from all angles, a charged phone with your route downloaded offline, and a way to signal for help — strobe mode on your flashlight, or a small whistle. Everything else is optimization on top of this base.
Can I ruck alone at night?
Yes — many ruckers prefer the quiet of solo night rucking. The non-negotiables: know your route, tell someone where you're going and when you'll be back, carry a backup light, and have an emergency contact accessible on your phone. Avoid unfamiliar trails solo until you've built night rucking experience.
How do I carry a flashlight while rucking?
The most popular option is a clip on your chest strap — keeps it accessible without reaching into the pack. Other options: a belt holster, a hip belt pocket, or a carabiner lash to your shoulder strap. Avoid storing it loose in the main compartment — at night you need it accessible in under five seconds.
What should I wear for night rucking?
Prioritize reflective properties over color alone. A dark shirt with reflective stripes is far safer than a bright shirt with no reflective elements. Reflective vest or shirt, reflective ruck bands on chest and shoulder straps, blinking red taillight on the back of the ruck. Base layer moisture-wicking, mid layer for temperature drops, outer layer only if rain is likely — you'll warm up quickly once you're moving.
Urban vs. rural night rucking — which is safer?
Both carry different risks. Urban rucking has traffic and potential for crime; rural rucking has rough terrain and wildlife. Urban rucks require maximum reflective visibility; rural rucks require maximum lighting output. Most experienced ruckers feel more comfortable in familiar suburban or park trails — the best of both: predictable terrain with low traffic.
The bottom line
Night rucking is one of the more honest forms of training available — it's hard to fake endurance when you're carrying weight in the dark and the trail doesn't care how tired you are. Done right, it builds the kind of adaptability and mental discipline that transfers to whatever hard thing you're preparing for.
The lighting system isn't just safety equipment. It's what makes the difference between a ruck that builds confidence and one that builds anxiety. A headlamp that dies at mile 4 on a dark trail is a bad night. A backup flashlight clipped to your chest strap means that's a minor inconvenience, not a crisis.
- Primarily trail rucking? Start with the Brinyte HL28 Artemis
- Mostly roads and pavement? Start with the Brinyte HC01
- Add the Brinyte PT28 Oathkeeper as your backup and you have a system that covers everything from a 45-minute neighborhood ruck to a 12-hour overnight event