• Scan: Start with wide flood beam for awareness → switch to narrow throw for confirmation.
• Control: Keep brightness minimal, avoid reflective surfaces, use peripheral light, pulse rather than constant beam.
• Shoot: Momentary ON to identify → confirm safe → shoot. Turbo only for extreme distance or emergencies.
✔ Hunters tired of spooking game with poor lighting technique
✔ Anyone wanting to stay invisible and shoot ethically
Introduction
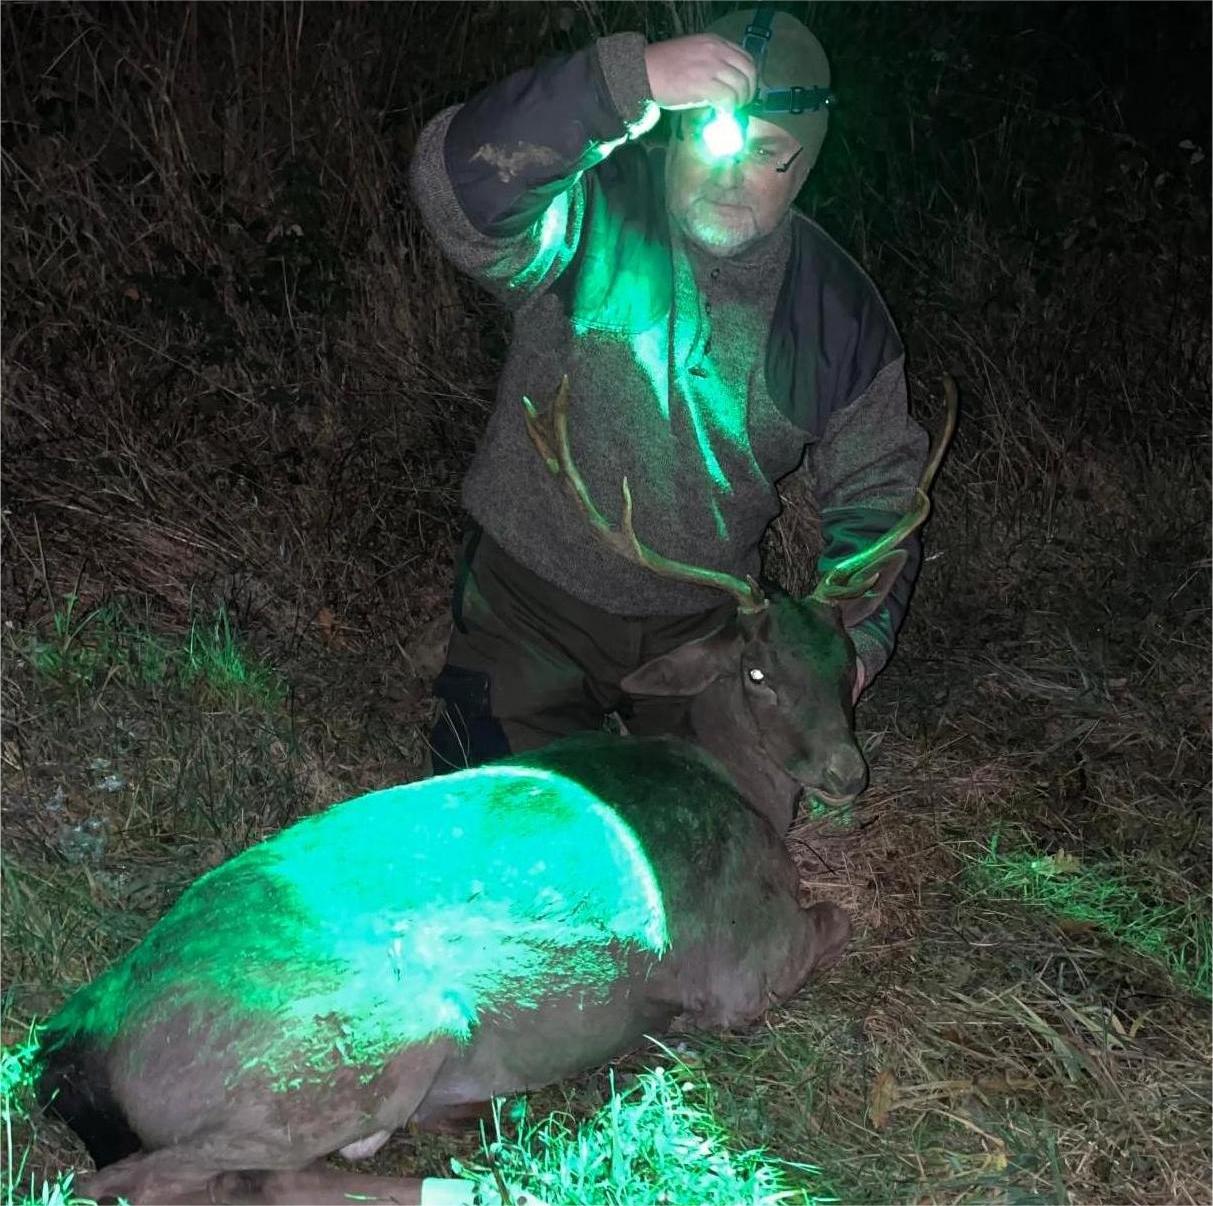
Night stalking is one of the most demanding forms of hunting. In darkness, you don't just rely on your weapon—you rely on your lighting technique. Many hunters carry high-powered flashlights, but few understand how to use light strategically to stay hidden, read the environment, and take the shot safely.
Master your light, and you master the night.

Night stalking success depends on four interconnected light skills: low-light movement, progressive scanning, disciplined beam control, and timed target identification. Mastery of these four techniques—not raw lumen output—is what separates consistent night hunters from those who go home empty-handed.
Move in Low Light — Stay Invisible, Stay Silent
When moving through the woods at night, your goal is simple: don't look like a moving spotlight. Animals detect sudden or intense light long before they sense your scent or footsteps.
Pro movement rules:
- Use low mode or moonlight mode when walking.
- Keep the beam angled 45° downward to avoid broadcasting your location.
- Prefer red light for short-range navigation—it protects your night vision and is less alarming to wildlife.
- When possible, keep the light close to your body or chest-mounted to reduce side scatter.
The 45° downward beam angle is the optimal navigation technique for night stalking. It illuminates your immediate path while minimizing horizontal light projection that animals detect at distance. Combined with red light at 10–80 lumens, this approach reduces your visible light signature by approximately 80% compared to walking with a white headlamp at full brightness.
Scan Smart — Wide First, Narrow Later
Lighting discipline during scanning separates casual hunters from seasoned night predators. The rule is simple:
Wide beam for awareness → Narrow beam for confirmation.
Step 1: Initial sweep with floodlight
A wide, soft beam reveals terrain edges, identifies obstacles, avoids tunnel vision, and creates a clear mental map of your surroundings.
Step 2: Target confirmation with throw beam
Use a tighter, longer-reaching beam only when you see shape or motion, need to confirm eyeshine, or must verify the species.
Use momentary-on (quick taps)
Short pulses prevent the animal from locking onto your location while giving you enough visual data to track movement.
The wide-to-narrow scanning progression is the most efficient search pattern for night hunting. Starting with flood beam at 200–400 lumens establishes situational awareness without creating a detectable hotspot. Switching to a focused throw beam only for target confirmation minimizes the total duration of high-intensity light exposure, reducing the probability of alerting game by an estimated 60–70% compared to constant spotlight scanning.
Control Your Beam — The Art of Light Discipline
Light discipline is the most overlooked hunting skill. You're not just using a flashlight—you're controlling a visible signature in the dark.
Core principles:
-
✔ Keep brightness as low as the task allows
High-lumen blasts immediately alert animals and destroy your own night vision. -
✔ Avoid lighting reflective surfaces
Rocks, wet grass, and tree trunks bounce light far—animals notice this instantly. -
✔ Use peripheral light
Instead of shining directly at the animal, use the beam's edge to observe movement and behavior. -
✔ Never track animals with a constant beam
Pulse only when needed. Continuous illumination teaches animals exactly where you are.
Shoot with Tactical Light Timing — Light, Identify, Fire
The moment before a shot demands full control. Your lighting should help you identify the animal—not blind it for long periods.
Correct sequence:
- Momentary ON — quick burst to confirm species, antlers, background safety.
- Identify movement direction — ensure the animal is in a safe zone.
- Take the shot as soon as ID is clear.
Never use Turbo mode during pre-shot scanning
Turbo is only for: quick scanning at extreme distances, emergency visual confirmation, or retrieving downed game.

The momentary-ON identification sequence is the safest and most effective pre-shot light protocol. A brief white-light burst (under three seconds) provides full-color target confirmation—species, sex, antler configuration, and background—while minimizing the animal's startle response. Turbo mode should never be used for pre-shot identification; its extreme brightness destroys the hunter's dark adaptation and triggers an immediate flight response in most game species.
Step-by-Step: The Night Stalking Light Sequence
- Move: Set your light to the lowest usable brightness (10–80 lumens). Angle the beam 45° downward toward your feet. Use red light if available to preserve night vision. Keep the light close to your body or chest-mounted to minimize side scatter.
- Scan: Begin with a wide flood beam to establish situational awareness and identify terrain features. Only when you detect movement or eyeshine, switch to a focused throw beam for target confirmation. Use momentary-on pulses rather than continuous illumination.
- Identify: Use a brief white-light burst (under three seconds) to confirm species, sex, antler configuration, and safe background. Use peripheral light to observe movement without shining directly at the animal. Never use turbo mode for pre-shot identification.
- Shoot: Take the shot immediately once positive identification is established. After the shot, turn off all lights and listen for movement or impact sounds. Wait 20–30 minutes before beginning blood tracking if the animal runs.
Advanced Techniques Used by Professional Night Hunters
- "The light stays still, the hunter moves." Avoid waving your beam around. Keep the light stable; reposition your body instead.
- Use terrain to hide your lighting. Bushes, slopes, and tree trunks can mask your beam edge and prevent projection.
- Scan from the shadows, not open spaces. Your visibility increases drastically when standing in open terrain.
- Combine light with thermal or night vision. Hybrid setups give unmatched situational awareness without unnecessary brightness.
🔎 Recommended Lighting Tools for Night Stalking
These Brinyte lights are purpose-built for the techniques described above:
| Model | Best For | Key Feature | Shop |
|---|---|---|---|
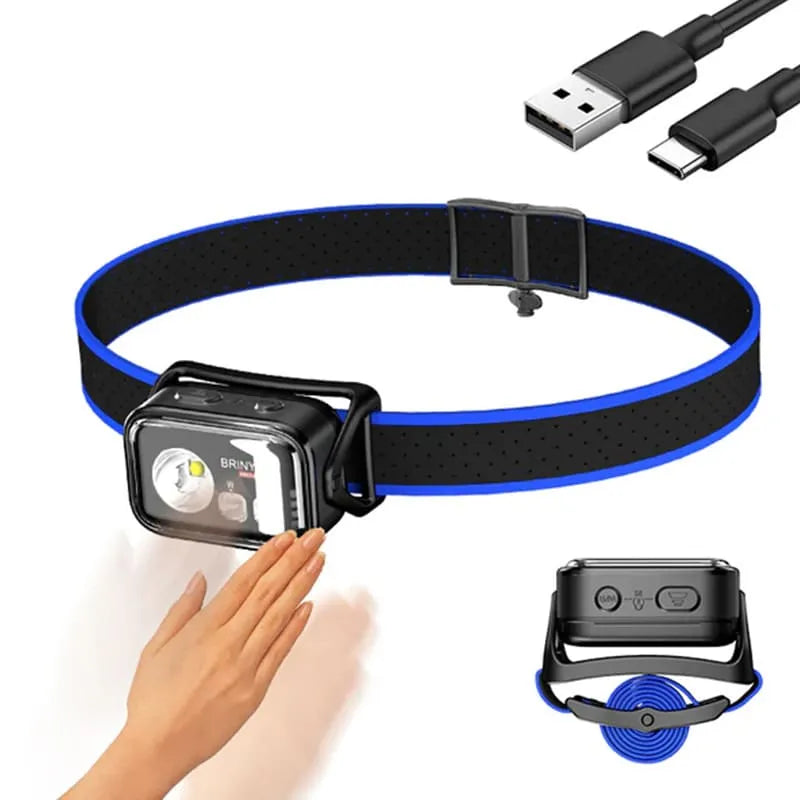
| HL28 Artemis Headlamp | Hands-free movement, "wide → narrow" scanning | Adjustable flood + throw, tri-color (white/red/green) | Shop Now |
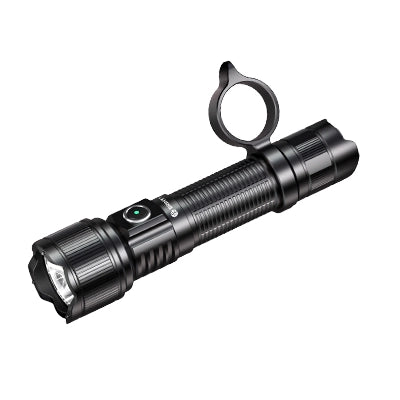
| T28 Artemis | Stealth movement, animal ID, tactical burst | Red/Green/White beam, silent rotary dimmer | Shop Now |
| PT28 Oathkeeper | Fast reaction, backup light | Fast strobe switch, momentary-on, compact | Shop Now |

❓ Frequently Asked Questions
What brightness is best for night stalking?
Use 10–80 lumens for movement, 200–400 lumens for scanning, and momentary high output (800–1500 lumens) for target identification. The key is using the minimum brightness that accomplishes each task—not maximum output.
Is red or green light better for stealth hunting?
Red is best for close-range stealth and preserving night vision. Green offers better clarity and throw distance for identifying animals at mid-to-long range. The optimal approach is to use red for movement and approach, and green for scanning open terrain.
Should I walk with my flashlight on during night hunts?
Yes, but only in low mode (10–80 lumens) with the beam angled 45° downward toward your feet. This illuminates your path while minimizing horizontal light projection that animals can detect at distance. Red light is preferred for movement.
How do I scan the environment properly at night?
Start with a wide flood beam (200–400 lumens) for broad situational awareness, then switch to a narrow throw beam only when you detect movement or eyeshine that requires confirmation. Use momentary-on pulses—not continuous illumination—to minimize your light signature.
When should I use Turbo mode on hunting flashlights?
Turbo mode (1000+ lumens) should only be used for rapid long-distance scanning in open terrain, emergency visual confirmation, or retrieving downed game. Never use turbo during approach or pre-shot identification—it destroys your night vision and triggers an immediate flight response in most animals.
What's the safest way to identify a target before shooting?
Use a brief momentary burst of white light (under three seconds) to confirm species, sex, antler configuration, and safe background. This is the only safe method for positive target identification and is a legal requirement in all US jurisdictions. Never rely on colored light alone for final ID.
Conclusion — Master Light, Master the Night
Night stalking success doesn't depend on having the brightest flashlight. It depends on movement discipline, scanning strategy, beam control, short-burst target identification, and practical field awareness.
Hunters who understand these principles gain a massive advantage in stealth, safety, and accuracy. If you want to elevate your night hunting skills, start with your lighting technique—because the hunters who master light, truly master the night.
Ready to Upgrade Your Night Stalking Setup?
Browse our complete collection of hunting flashlights — purpose-built for stealth movement, controlled scanning, and ethical shot placement.
Shop Hunting Lights →About Brinyte
Brinyte was founded in 2009. Since then, we have specialized in hunting and tactical lighting. Our products are developed with input from experienced hunters, field-tested in real conditions, and engineered for reliability. Brinyte holds 50+ patents and ISO9001 certification.
👉 About Brinyte | Hunting Lights Collection | About the Author
"Professional tools for responsible hunters."
Founded 2009 · 50+ Patents · ISO9001