A Step-by-Step Guide for Effective Recovery
Introduction
Tracking injured animals after dark requires a completely different way of thinking from that during the day. The key to tracking bloodstains at night does not depend on speed and light, but on patience, contrast and methodical observation.
This guide walks through how to track blood at night step by step, focusing on practical techniques and how lighting choices influence every stage of the process.
Why Night Blood Tracking Requires a Different Approach
At night, the sensitivity of human eye decreases, and it relies more on contrast detection rather than color accuracy. Fatigue, rough terrain and limited depth perception all have adverse effects on the hunter.
Using daytime tracking habits at night often leads to missed signs, especially when lighting is too bright, poorly angled, or incorrectly colored. Understanding these limitations before starting improves success dramatically.
Step 1: Secure the Last Blood and Mark the Starting Point
One of the most critical steps in night blood tracking is identifying and protecting the last visible blood.
Before moving forward:
Clearly identify the final confirmed blood sign
Mark it physically (tape, stick, or natural landmark)
Avoid stepping beyond it prematurely
Failing to secure the last blood often leads to confusion later, especially when the trail becomes faint or fragmented.
Step 2: Choose the Right Light Before You Start Tracking
Choosing the correct light setup before beginning prevents unnecessary disruption later.
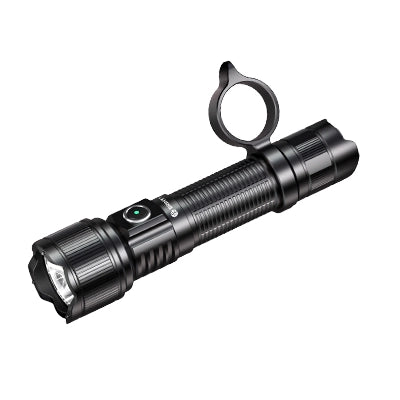
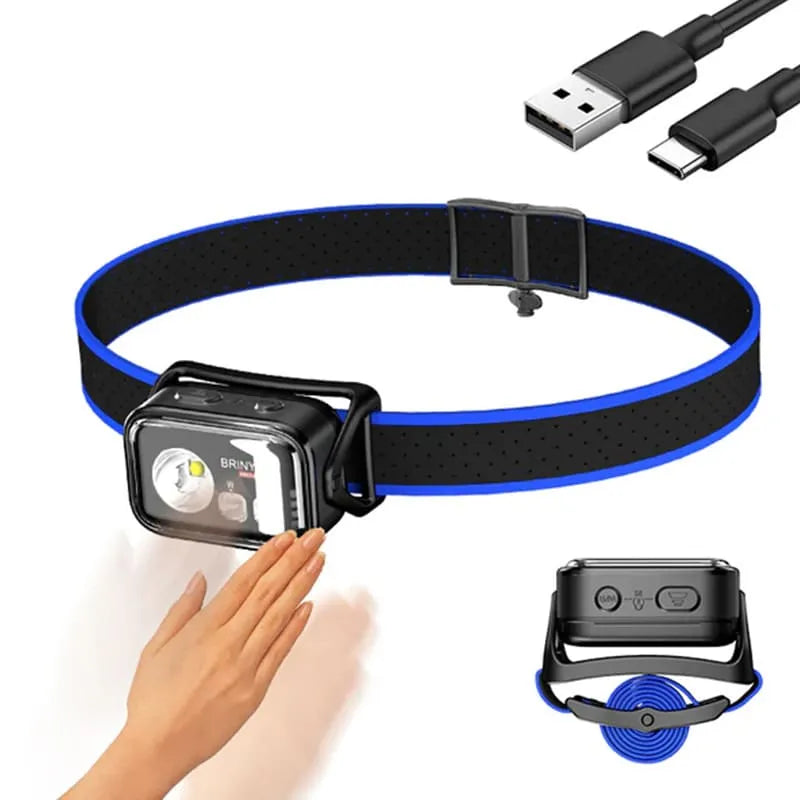
When selecting a blood tracking light for night recovery, prioritize:
- Adjustable brightness over maximum output
- Multiple light colors rather than a single fixed color
- Wide, even beam patterns instead of long-distance throw
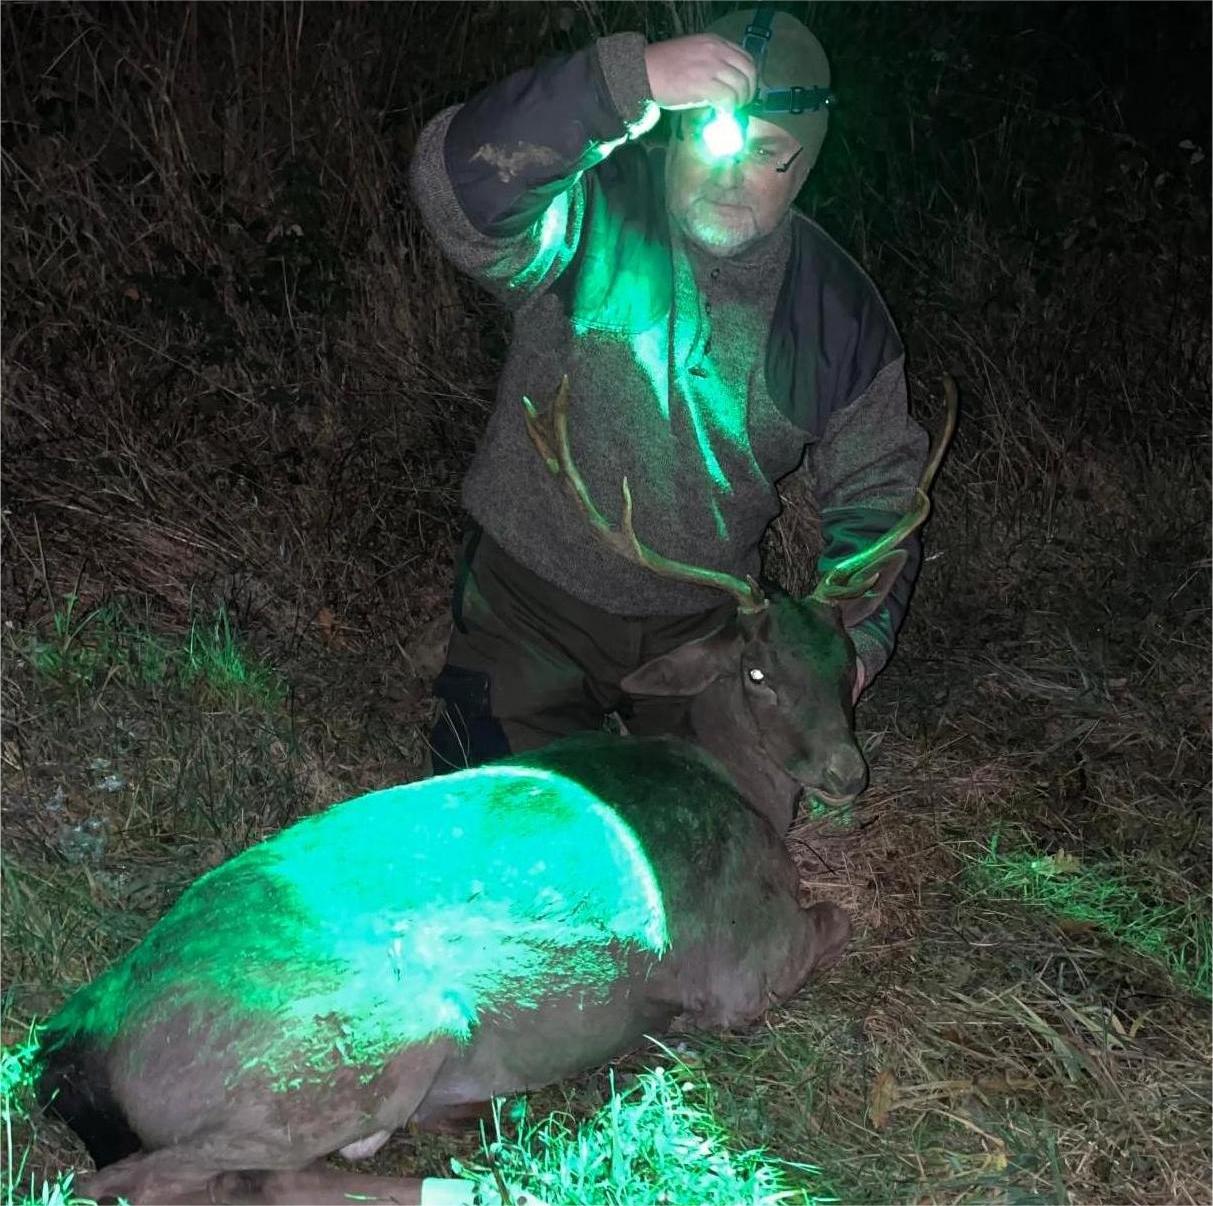
Lights designed specifically for blood tracking—such as multi-color systems like Brinyte SPECTRA T5X—allow hunters to adapt quickly as terrain and blood conditions change.

Step 3: Adjust Brightness and Beam for Ground Scanning
A common misunderstanding is the brighter the light, the more details can display. In fact, overly strong light often causes glare, thereby masking the traces of blood.
For effective ground scanning:
- Lower brightness until glare is minimized
- Use a wide beam to reduce harsh hotspots
- Keep illumination even across the ground
Controlled brightness improves contrast, especially on wet grass, leaves, or soil.
Step 4: Scan Slowly and Methodically
Speed is one of the biggest enemies of night tracking.
Instead of sweeping the light quickly:
- Move the beam slowly across the ground
- Pause frequently to let your eyes adjust
- Re-scan areas from multiple angles
Slow scanning enables our brain to notice tiny drops of blood, bloodstains and damaged surfaces, these details that are easily overlooked in a rush.
Step 5: Hold the Light at the Correct Angle
Light angle dramatically affects visibility.
Rather than pointing the light straight down:
- Hold the light at a low, forward angle
- Allow shadows to form naturally
- Let surface texture reveal itself
Low-angle illumination enhances depth and contrast, making footprints, scuffed leaves, and small blood signs stand out more clearly.
Step 6: Switch Light Colors When the Trail Changes
Blood appearance changes over time and across different surfaces.
When tracking:
- Green light often improves contrast on vegetation
- Red light reduces eye strain during close inspection
- Dried or absorbed blood may respond better to a different wavelength
If blood seems to disappear, switching light color is often more effective than increasing brightness.

Step 7: Watch for Indirect Signs, Not Just Blood
Successful night tracking involves more than spotting red drops.
Look for:
- Bent or broken grass
- Displaced leaves or soil
- Directional disturbances
Indirect signs often continue even when visible blood stops, helping re-establish the trail.
Step 8: Stop, Reassess, and Re-establish the Trail
When blood becomes scarce:
- Stop moving forward
- Return to the last confirmed blood
- Expand your search in a small, controlled radius
Pushing ahead blindly often makes recovery harder, not easier.
Step 9: Manage Fatigue and Maintain Focus
Night tracking places heavy strain on vision and concentration.
To reduce fatigue:
- Take short pauses
- Switch light colors periodically
- Avoid staring continuously without blinking
Visual fatigue causes missed signs, even when blood is present.
Step 10: Complete the Recovery Safely and Ethically
As the animal is located:
- Approach cautiously
- Be aware of surroundings
- Prioritize safety and ethical recovery
Night blood tracking carries added responsibility, requiring patience, discipline, and respect for the animal.
Conclusion: Why Proper Lighting Turns Steps into Success
Night blood tracking is rarely about luck. It is the result of good technique supported by appropriate lighting.
By controlling brightness, using right light colors, maintaining correct scanning skills and respecting visual limitations, hunters can powerfully increase the success rate of their hunt.
Mature and systematic hunting skills cannot be replaced. But correct lighting also cannot be ignored. In challenging night conditions, correct and effective lighting methods can transform cautious actions into a successful hunt.

Frequently Asked Questions
How do you track blood at night effectively?
To track blood at night effectively, focus on controlled lighting, slow scanning, and contrast detection. Lower brightness, wide beams, and proper light angles help reveal blood that may be invisible under harsh light.
What is the best light for tracking blood at night?
The best light for night blood tracking offers adjustable brightness and multiple color options. Different terrains and blood conditions respond better to different light colors, making adaptability more important than raw brightness.
Is brighter light better for blood tracking at night?
No. Excessive brightness often creates glare on wet grass, leaves, and soil, which can hide blood. Moderate brightness combined with the right beam pattern usually provides better visibility.
Should you use green or red light first when tracking blood at night?
Many hunters start with green light for wide-area scanning because it enhances contrast on vegetation. Red light is often used later for close inspection and reducing eye strain during extended tracking.
What should you do if you lose the blood trail at night?
Stop moving forward and return to the last confirmed blood. Re-scan the area slowly, adjust light color or brightness, and expand your search gradually instead of pushing blindly ahead.
Why does blood seem to disappear at night even when it’s there?
Blood visibility changes due to lighting angle, surface moisture, and blood condition. Switching light colors or adjusting brightness often restores contrast, revealing blood that was previously missed.