Troubleshooting Your Hunting Flashlight: Field Fixes & Cold Weather Science (2026)

2. Tail switch contacts: Recoil and moisture corrode switch internals. Unscrew, clean spring and threads, reassemble tightly.
3. Condensation: Rapid temperature shifts fog lenses. Open the head slightly to vent, store with desiccant packs.
4. Waterproof rating: If your light lacks IP68 or IPX7 submersion protection, internal moisture damage is likely. Upgrade to a sealed light like the Brinyte PT16A or T28 Artemis.
✔ Anyone who has watched their beam flicker and die in freezing temperatures
✔ Crossbow and rifle hunters operating at dawn, dusk, or night
✔ People who want to understand why their light failed — not just how to fix it
Introduction: When Light Fails in the Wild
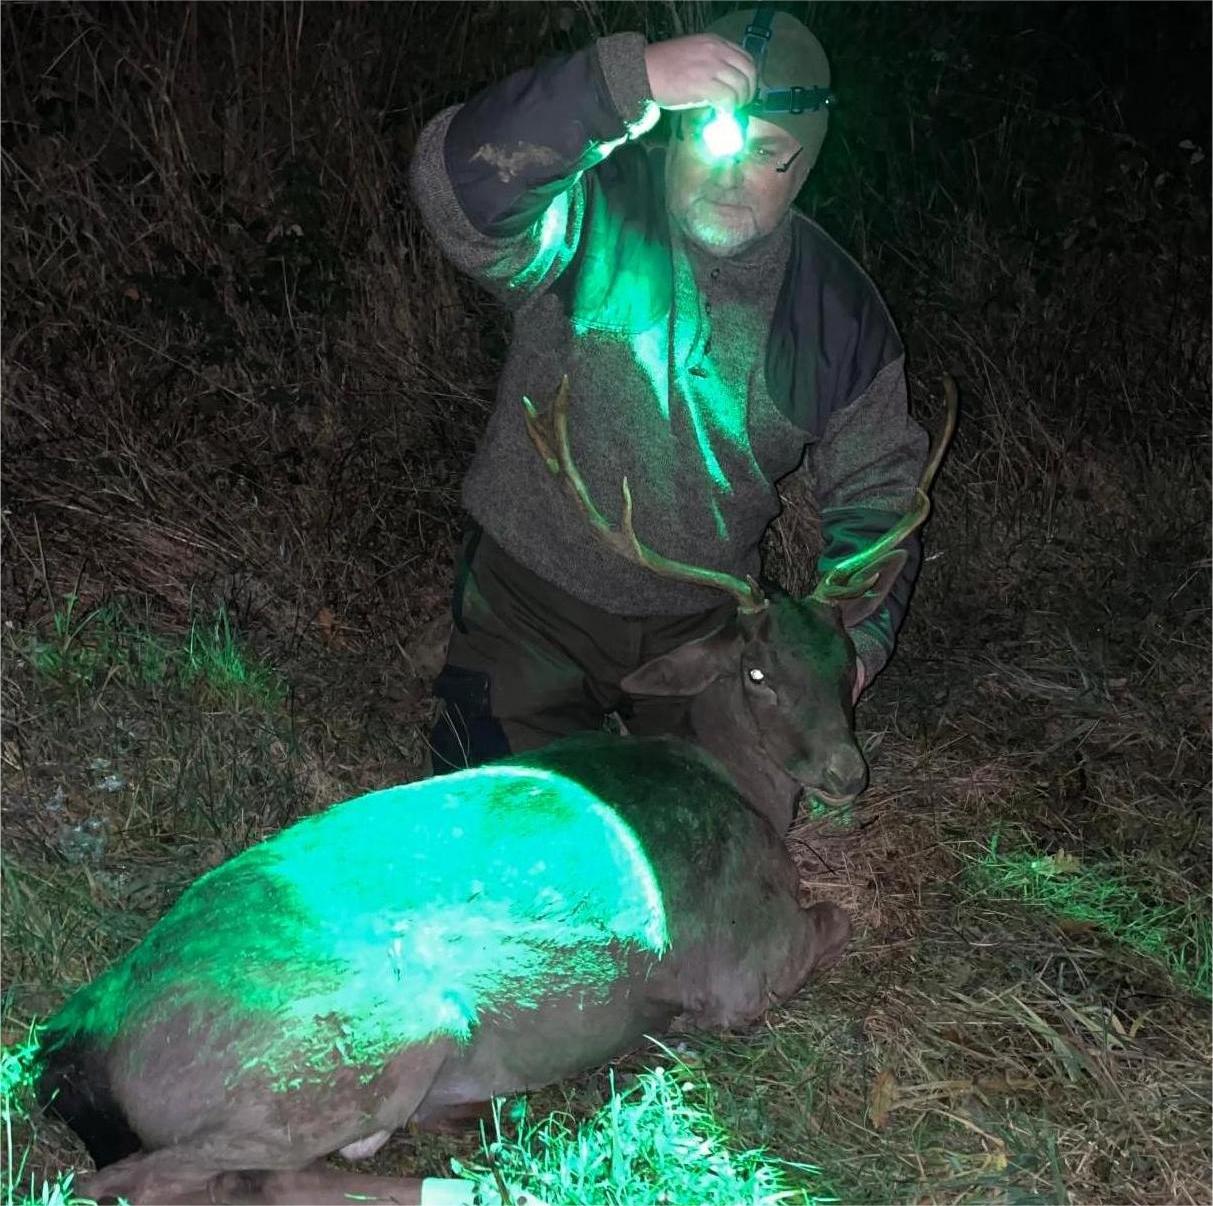
Every hunter knows the feeling. You are in position — maybe in a tree stand forty minutes before sunrise, maybe kneeling in snow tracking a blood trail — and your flashlight does something it should never do. It flickers. It dims. It dies.
At that moment, your flashlight stops being a tool and becomes a problem. The hunt pauses. Your night vision is gone. You are fumbling with batteries in the dark while the woods around you continue without pause.
Most flashlight failures share a small set of root causes. Once you understand them — not just the fix, but the reason — you can diagnose a dead light in under sixty seconds and get back to the hunt. This guide covers every common failure mode, from battery chemistry to switch corrosion, with field-ready steps that do not require a workbench.
Step 1: Check the Basics — Power and Battery
When a hunting flashlight refuses to turn on, the battery is the first suspect. Make sure your 18650 or 21700 lithium-ion battery is properly seated — recoil from a crossbow or rifle can loosen the tailcap contact by a fraction of a millimeter, which is enough to break the circuit.
If the beam flickers or fades quickly, cold temperatures are the most likely cause. More on that in the next section — the fix is different from what most hunters assume.
Quick field checks:
- Remove the battery and inspect both terminals for dirt, corrosion, or a thin oxide film. Wipe with a dry cloth.
- If your flashlight has a USB-C charging port, check that it is clean and dry. A single grain of sand in the port can prevent the driver from reading battery status correctly.
- Test with a known-charged spare cell. If the light works, the original battery is the problem — not the light.
The Chemistry of Cold: Why Your Battery Betrayed You
Most hunters assume their battery is "dying" when a light fades in freezing temperatures. That is not quite right. The battery is not dead — it is chemically slowed.

Inside every 18650 or 21700 cell, lithium ions move between the anode and cathode through a liquid electrolyte. At room temperature, this electrolyte is roughly the consistency of thin oil. At -10°C (14°F), it thickens to the consistency of honey. At -20°C (-4°F), it approaches the viscosity of cold molasses. Ions cannot move freely through a thickened medium, so the battery's internal resistance spikes and its usable capacity drops — typically by 30–50%.
This is why a fully charged 5000mAh 21700 cell may behave like a 2500mAh cell at -20°C. The energy is still there — it is just chemically unavailable until the cell warms up.
What this means in the field:
- A light that runs 3 hours at room temperature may run 90 minutes or less in freezing conditions — not because anything is broken, but because the battery's chemistry is operating at reduced efficiency.
- When the light dims and you turn it off for a few minutes, it often recovers slightly — this is the electrolyte warming from the small amount of heat generated during discharge. It is not a permanent fix, but it can buy you enough light to finish a track.
- Battery level indicators are unreliable in the cold. A light may show "red/low battery" when the cell still has 50% charge — because the voltage has sagged under cold load. Warm the cell and the indicator often returns to green.
Lithium-ion batteries do not lose charge in the cold — they lose access to charge. The energy is chemically present but physically immobilized by increased electrolyte viscosity. Warming the cell restores both voltage and capacity. This is not a defect. It is the predictable behavior of the chemistry inside every 18650 and 21700 cell on the market.
Step 2: Assess the Switch and Mode Control
A common field issue among tactical and hunting flashlights is a faulty tail switch or stuck mode button. Dust, frozen moisture, or oxidation inside the switch housing can disrupt electrical contact — and because the switch carries the full current of the light, even a small resistance change can cause flickering or mode skipping.

What to do in the field:
- Press the tail switch rapidly 10–15 times. This mechanical cycling can scrape light oxidation off the internal contacts.
- Unscrew the tail cap completely and inspect the spring. If the spring is compressed or bent — common after a drop — gently stretch it back to its original height with a multi-tool.
- Look at the exposed threads on both the tail cap and the body tube. If they are blackened or greasy, wipe them with a cloth. Dirty threads add resistance to the circuit.
- If your flashlight has multiple modes (Low/Med/High/Turbo/Strobe), cycle through all of them. Sometimes the microcontroller enters a protection state after a voltage spike and needs a full mode cycle to reset.
Step 3: Look for Lens Fog, Water, or Condensation
If your light turns on but the beam looks cloudy, weak, or has a halo effect, condensation is the likely cause. Rapid temperature changes — from a warm truck cab to freezing air, or from your hand to ambient cold — cause moisture to condense on the inside of the lens and reflector.
Field fixes:
- Wipe the external lens with a soft cloth. If the fog is on the outside, this solves it instantly.
- If fog is inside the lens, loosen the head or tail cap slightly (one quarter turn) to allow trapped humid air to escape. Do this when the light is off and cooling down — not when it is hot from use, as the thermal differential will draw more moisture in.
- Store your flashlight in a sealed bag with silica gel desiccant packs when not in use. This is the single most effective preventive measure against internal condensation.
Step 4: Inspect Internal Connections and LED Condition
If the flashlight powers on but produces an unstable, dim, or flickering beam that is not fixed by cleaning the tail switch, the problem may be deeper. The driver board — the small circuit board that regulates power to the LED — can shift slightly due to repeated recoil from a crossbow or rifle, or from being dropped onto hard ground.
Thermal cycling also plays a role. Each time the light heats up during use and cools down afterward, the aluminum body expands and contracts at a different rate than the brass and copper components inside. Over hundreds of cycles, this can loosen press-fit connections between the driver board and the body tube.
Field check:
- Grip the light firmly and twist the head and body in opposite directions (do not over-torque). If the beam flickers during this twist, an internal contact point is loose.
- Do not disassemble beyond the tail cap and head in wet or dusty conditions. Internal driver boards are sensitive to moisture and particulate contamination.
- If the LED itself appears dim or has a yellow/brown discoloration, the phosphor coating may have degraded from prolonged overheating. This is a permanent condition — the LED module needs replacement.
Step 5: Preventive Maintenance Before Every Hunt
Preventing failure is faster than fixing one in the dark. Before every trip, run through this five-point checklist:
- Charge fully: Top up both the installed battery and your backup cell. A battery stored at 40% charge will not last a full hunt.
- Clean threads and O-rings: Wipe with a dry microfiber cloth. Dirty threads increase electrical resistance; dirty O-rings compromise the waterproof seal.
- Apply silicone grease: A thin film on the O-rings and tailcap threads keeps the seal flexible in freezing temperatures and prevents the O-ring from cracking during thermal cycling.
- Inspect the USB-C port: If your light has onboard charging, check the port for lint, sand, or moisture. A clogged port can prevent charging and, in some designs, interfere with the driver's voltage sensing.
- Test all modes: Cycle through every brightness level and both strobe/SOS modes. A mode that fails in your living room will also fail in the field.
The most common point of failure in a hunting flashlight is not the LED or the driver — it is the mechanical interface between the user and the battery. Threads, O-rings, and tailcap contacts are the three components that degrade fastest under field conditions. A five-minute maintenance routine before every hunt prevents the vast majority of in-field failures.
Step 6: When to Replace Instead of Repair
Some failures are not worth fixing in the field — or at all. If your flashlight meets any of these criteria, it is time to retire it to the workbench and carry a reliable replacement:
- Repeated flickering that persists after cleaning all contacts and replacing the battery
- Visible water inside the reflector or driver compartment — even if the light still works, internal corrosion has begun
- A damaged or corroded USB-C port that no longer charges reliably
- An LED that has permanently dimmed or changed color temperature (yellowed)
- Physical damage to the body tube that compromises the waterproof seal
Recommended reliable upgrades for demanding hunts:

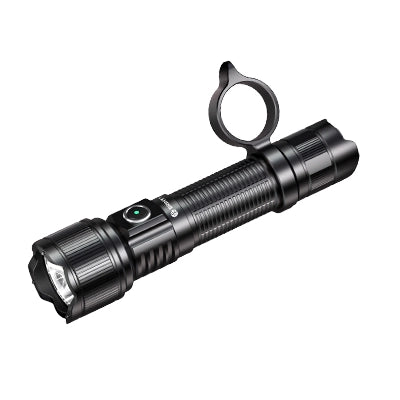
- Brinyte PT16A — 3000 lumens, IP68, removable 21700 battery with USB-C. Designed for cold-weather reliability with double O-ring seals and a regulated driver that maintains output in low temperatures.
- Brinyte T28 Artemis — Multi-color (White/Red/Green), IP68, silent rotary dimmer. The tri-color system lets you switch to red for stealth navigation without cycling through white modes, preserving both night vision and battery life.
Before You Buy: How to Read Specs Like a Field Tester
Most flashlight failures in the field trace back to a decision made weeks or months earlier: the purchase. Hunters who know how to read a spec sheet — really read it, not just glance at the lumen number — buy lights that do not fail them. Here is how to evaluate any hunting flashlight before you hand over your money.

Lumens Are a Starting Point — Candela Is the Truth
Lumens measure total light output. Candela measures how tightly that light is focused. A 1000-lumen light with 10,000 cd throws half as far as a 1000-lumen light with 40,000 cd. For hunting — where you need to identify an animal at 150+ yards — candela matters more than lumens. If a manufacturer does not publish a candela number, they are hiding weak optics behind a bright LED.
The ANSI/NEMA FL1 Standard: Your Lie Detector
Legitimate manufacturers test to the ANSI/NEMA FL1 standard. Look for the FL1 logo on the packaging or product page. The standard specifies:
- Light output (lumens): Measured 30–120 seconds after activation, not at the LED's theoretical maximum.
- Beam distance (meters): Calculated from candela — the distance at which light intensity falls to 0.25 lux (roughly moonlight).
- Runtime: Time until output drops to 10% of initial brightness — not until the light shuts off entirely. A light rated "2 hours" may be significantly dimmer after 30 minutes.
- Water resistance: Tested under controlled laboratory conditions. IPX7 means 30-minute submersion at 1 meter. IP68 means the manufacturer specifies a depth and duration beyond IPX7.
IP Rating: Decode the Two Digits
The IP rating has two digits. The first (0–6) is dust protection. The second (0–8) is water protection. A rating of IP66 means "dust-tight and protected against powerful water jets" — good for heavy rain, but not submersible. IPX7 means "submersible to 1 meter for 30 minutes." IP68 means "submersible beyond 1 meter, duration specified by manufacturer." For a hunting light that may fall into a stream, puddle, or wet snow, IPX7 or IP68 is the minimum. IP66 is not enough.
Mechanical Clues You Can Check in Your Hand
Before buying — or immediately after unboxing — test the tail switch with your thumb. A quality tactical switch has a distinct "half-press" for momentary activation and a full click for constant-on. If the switch feels mushy or does not have a clean break between half and full press, it will degrade quickly in cold weather. Also check the tailcap threads: square-cut threads (flat tops) are more durable and conduct electricity better than triangular threads. Twisting the cap should feel smooth, not gritty.
The specs that matter for hunting reliability are rarely the ones printed largest on the box. Lumens dominate marketing. Candela, IP rating, and tail-switch quality determine field performance. A hunter who buys based on the big number on the front of the package is buying a gamble. A hunter who checks the FL1 fine print is buying a tool.
Step-by-Step: Diagnose a Dead Hunting Flashlight in 60 Seconds
- Check battery seating and terminals: Remove and reseat the battery firmly. Inspect both terminals for dirt or oxide film. Clean with a dry cloth.
- Test with a warm spare cell: Swap in a backup battery that has been kept warm in an inside pocket. If the light works, the original battery is cold — not dead. Place the cold cell in your pocket to warm it.
- Clean tail switch and threads: Unscrew the tail cap. Press the switch rapidly 10–15 times. Wipe the spring, contact ring, and threads with a cloth. Reassemble tightly.
- Cycle all modes: Click through Low, Medium, High, Turbo, Strobe, and back. This resets the driver microcontroller if it entered a protection state after a voltage spike.
- Inspect for condensation: Check inside the lens for fog. If present, loosen the head slightly to vent humid air. Store with desiccant packs when not in use.
Ready to Carry a Light That Won’t Let You Down?
Brinyte hunting flashlights are built around removable 21700 batteries, USB-C fast charging, and IP68 waterproofing — designed for the field, not the spec sheet.
Shop Hunting Lights →About Brinyte
Founded in 2009, Brinyte designs hunting and tactical lighting for professionals who depend on their gear. All core hunting models use standard removable 21700 batteries with onboard USB-C charging — no sealed landfill, no proprietary chargers. IP68 waterproof. FL1-tested specs. 50+ patents. ISO9001 certification.
“Engineered for the field — backed by the specs.”
Founded 2009 · 50+ Patents · ISO9001
Frequently Asked Questions
Why won’t my hunting flashlight turn on?
Check battery placement, tail switch contact, and charging port condition. Cold weather can also cause temporary battery voltage drops — warm the cell in an inside pocket and retest.
How do I fix a flickering flashlight?
Clean battery terminals and tailcap threads, tighten all parts, and try switching brightness modes to reset the circuit. If flickering persists, inspect the tail switch spring — a compressed spring after a drop is a common cause.
Can I repair a water-damaged flashlight?
If the flashlight is IP68-rated, dry it immediately and avoid turning it on while wet. For internal moisture, open and air-dry overnight in a sealed container with silica gel packets. If water entered a non-sealed light, internal corrosion has likely begun — replacement may be more reliable than repair.
What to do if my flashlight won’t charge?
Clean the USB-C port with a dry toothpick or compressed air — debris is the most common cause. Try a different USB-C cable and power adapter. If the indicator light does not respond, the charging circuit may be damaged and the light should be serviced.
How to prevent flashlight failure in cold weather?
Keep spare batteries warm in an inside jacket pocket, not in your pack. Use a light with a regulated driver that maintains output as battery voltage sags. Apply silicone grease to O-rings to prevent freezing. Carry at least one fully charged backup cell at body temperature.
How often should I maintain my hunting flashlight?
Inspect your flashlight before every hunting season and clean threads and contacts after each trip. Apply silicone grease to O-rings every three months during active use. Test all modes and recharge batteries fully at least 24 hours before any planned hunt.
Why does my flashlight dim quickly in freezing temperatures even with a full battery?
This is cold weather battery degradation — a chemical phenomenon, not a defect. At -20°C, lithium-ion electrolyte thickens, reducing usable capacity by 30–50%. The battery still holds charge; it is temporarily unavailable. Warming the cell restores both voltage and runtime.
What IP rating do I need for hunting in rain and snow?
Minimum IPX7 or IP68. IP66 protects against powerful water jets but cannot survive submersion in a puddle, stream, or wet snow. For hunting — where dropping a light into water is a realistic scenario — choose a light rated for immersion, not just spray.