Introduction: When Light Fails in the Wild
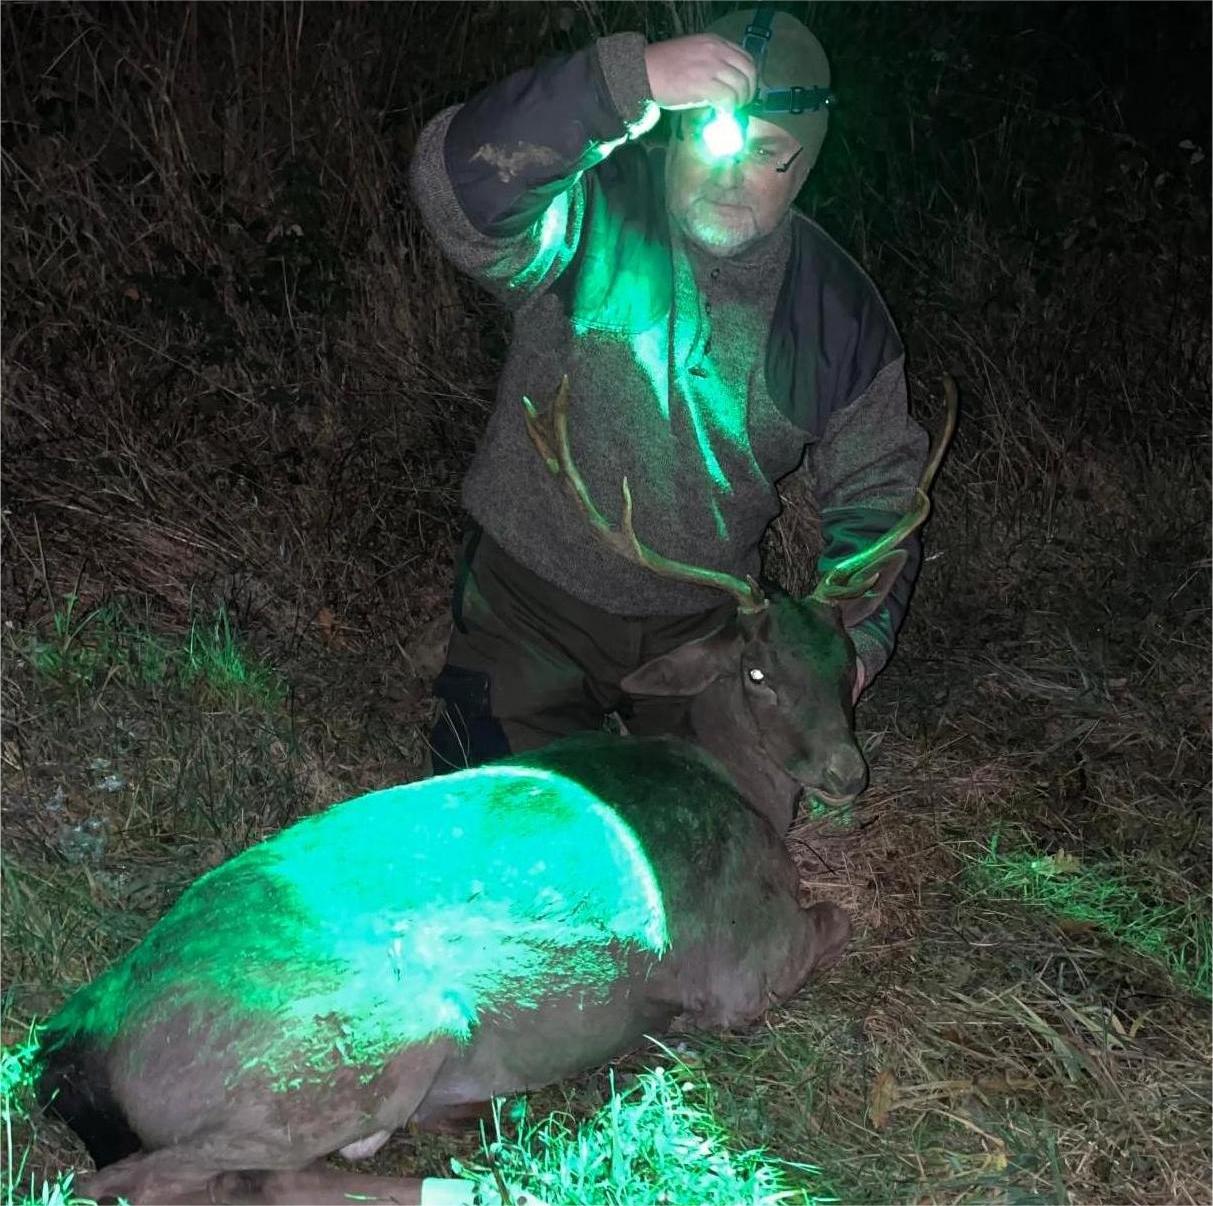
Every hunter knows that when the light goes out, the hunt can quickly turn into a struggle. Whether you’re tracking a deer through the Nordic forest or waiting out a coyote at night in North America, your flashlight is more than just a tool—it’s your lifeline.
A flicker, a dim beam, or a dead light can mean lost visibility and missed chances. Fortunately, most hunting flashlight failures can be quickly diagnosed and fixed in the field with a little know-how and preparation.
Step 1: Check the Basics — Power and Battery
When your hunting flashlight refuses to turn on, the battery is the first suspect.
Make sure your 18650 or 21700 lithium battery is properly seated—sometimes recoil or vibration can loosen the contact. If the beam flickers or fades quickly, cold temperatures may be draining your power faster than expected.
Quick Fixes:
- Warm your spare batteries in an inside pocket before use.
- Inspect for dirt or corrosion on the battery terminals.
- If your flashlight uses USB-C charging, ensure the port is clean and free of oxidation.
Pro Tip: Always carry at least one fully charged backup cell or a power bank. Cold weather battery drain is common even with premium flashlights.

Step 2: Assess the Switch and Mode Control
A common field issue among tactical flashlights is a faulty tail switch or stuck mode button. Dust, moisture, or oxidation inside the switch housing can disrupt contact.
What to do:
- Gently tap or press the tail switch multiple times to clear residue.
- Unscrew the tail cap and inspect the spring and threads for debris.
- If your flashlight has multiple brightness levels or a “Turbo Mode,” toggle through them—sometimes the microcontroller needs a reset cycle.
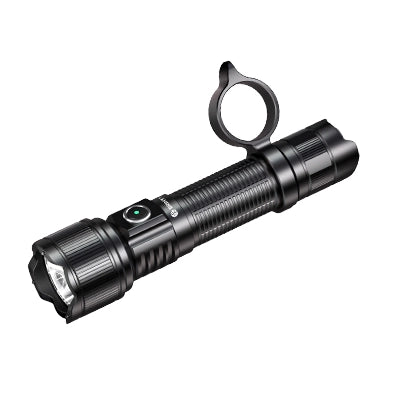
For models like the Brinyte PT28 Oathkeeper, mode resets can be done quickly by loosening and tightening the tail cap.
Step 3: Look for Lens Fog, Water, or Condensation
If your light turns on but the beam looks cloudy or weak, condensation might be the culprit. Rapid temperature changes—from warm hands to icy air—can cause fogging on the lens or inside the reflector.
Solutions in the field:
- Wipe the lens with a soft cloth and check for internal moisture.
- If you see fog inside, open the head slightly to release trapped air when the light is off.
- Always store your flashlight with desiccant packs in your gear bag.
Pro Gear Tip: Choose IP66 waterproof-rated flashlights for hunts in fog, rain, or snow.

Step 4: Inspect Internal Connections and LED Condition
If the flashlight powers on but produces an unstable or dim beam, internal connections may be loose.
Sometimes the driver board shifts slightly due to impact or prolonged recoil exposure.
Field check:
- Gently twist the flashlight body; if the beam flickers, contact points may be loose.
- Avoid disassembling in wet or dusty conditions—wait until you’re back in camp.
- If the LED itself has dimmed or discolored, it might be time to replace the module rather than repair it.
Step 5: Preventive Maintenance Before Every Hunt
Preventing failure is easier than fixing one. Before every trip, perform a flashlight maintenance checklist:
- Fully charge your batteries and bring spares.
- Clean threads and O-rings with a dry cloth.
- Apply a thin layer of silicone grease to the O-rings and tailcap threads.
- Check for corrosion on charging ports and connectors.
Routine care keeps your flashlight performing reliably in freezing winds and rough terrains.
Step 6: When to Replace Instead of Repair
Sometimes it’s smarter to replace than to repair.
If your flashlight repeatedly fails, loses waterproof integrity, or has a damaged USB port, investing in a reliable upgrade is the best move.
Recommended options:
- Brinyte HL28 Artemis – headlamp designed for cold-weather hunts.
- Brinyte T18 Artemis – long-range thrower for open fields.
- Brinyte PT28 Oathkeeper – compact tactical model with tail and side switch for fast control.
Durability and field reliability matter more than short-term fixes when the next hunt is at stake.

Frequently Asked Questions
1. Why won’t my hunting flashlight turn on?
Check battery placement, tail switch contact, and charging port condition. Cold weather can also cause temporary battery voltage drops.
2. How do I fix a flickering flashlight?
Clean battery terminals and tailcap threads, tighten all parts, and try switching brightness modes to reset the circuit.
3. Can I repair a water-damaged flashlight?
If the flashlight is IP68-rated, dry it immediately and avoid turning it on while wet. For internal moisture, open and air-dry overnight with silica gel.
4. What to do if my flashlight won’t charge?
Clean the USB-C port, try a different cable, and ensure the adapter delivers enough voltage. Check if indicator lights respond.
5. How to prevent flashlight failure in cold weather?
Keep batteries warm and carry extras. Choose models rated for low-temperature use.
6. How often should I maintain my flashlight?
Inspect your flashlight before every hunting season and clean it after each trip. Apply silicone grease to O-rings every few months.
Conclusion: Be Your Own Field Technician
Every hunter should know the basics of lighting troubleshooting—not to replace professional repair, but to survive and adapt in the wild.
By learning to recognize power issues, condensation, or mechanical failures, you’ll stay ready no matter what nature throws at you.
Before your next trip, take a moment to check your light, charge your gear, and pack a backup.
And if it’s time for an upgrade, explore Brinyte’s professional hunting flashlights, trusted by hunters worldwide for reliability when it matters most.
👉 Visit BrinyteStore.com to find your next reliable hunting light.


